
I saw the idea for these shorts last summer while I was searching on Pinterest, and knew I had to have them. But I just never got the time to make them...until today.
If you are going to make these, make sure you have a big chunk of time on hand, because they will take quite a while to make. The nice thing about making that, though, is that there is alot of down time in between steps, so you can work on other things around the house while waiting to move to the next step.
So, here is how to do it:
First, you are going to need these things: a pair of shorts(or pants you cut), black acrylic or fabric paint, clothing bleach, paint brushes, a small dish for paint, a bucket, and possibly oxyclean. (not everything is pictured)


First thing I did was get the shorts completely wet, then wrung them out. Next I filled a bucket with bleach, just high enough to cover the part of the shorts I wanted to bleach. Then I stuck the shorts in so that the bleach only touched where I wanted it to touch.


I just left them there in that bucket for about 5 minutes to soak, then came back and checked on them. They weren't white enough, so I dumped out the bleach into the sink, rinsed the shorts, and did step 2 a second time.
This is the result I got:

Oh no, they are yellow. I'm not gonna lie, I freaked out.
So after talking to my mom, and doing ALOT of googling, I decided to try using oxyclean on the bleached part.

So, I sprayed the entire bleached section and rubbed it in, then let them set in the sink for about 10-15 minutes. Once that time was up I threw them into the washing machine with some junk towels, and washed them for about 40 minutes. I was super disappointed to see this when they came out(still wet):


So, next came applying the print. I decided to use a similar pattern to the ones I posted as an example up top. My first step was to use an extra fine point sharpie and a straight edge to draw lines for where i would put my design.

Then all I had to do was draw in my design. At first i used the straight edge, but then I just decided to eyeball it

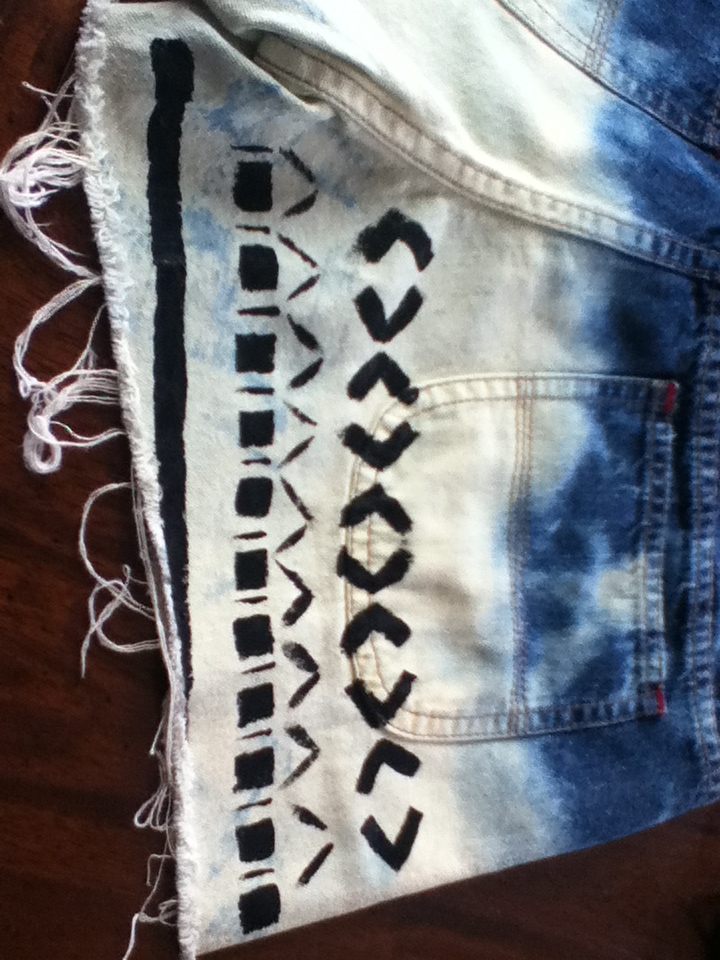
Then I painted with the black paint onto the spaces I wanted.


The front is finished:

For the back, I just got creative and did my own designs. It would even be completely fine to leave the back plain.
And thats it! It did take some time, but it was so worth it! Especially since I got the shorts at Goodwill for $1.25!! Hopefully you feel inspired to try this DIY, or even a similar one.

really cool
ReplyDeleteThese are super cute. Thankyou, I'm definantly going to dot his for the two girls I babysit (11 and 13! I even love them, I just made them, They turned out gorgeous! (I'm Sixteen) Keep up the good work, babe!
ReplyDeleteSoooo cool my friends birthday is coming up and I wanted to do a DIY sort of thing and this is it thx
ReplyDelete